


10minuteworkshop
10MW LTJ 3D Printable
10MW LTJ 3D Printable
Couldn't load pickup availability
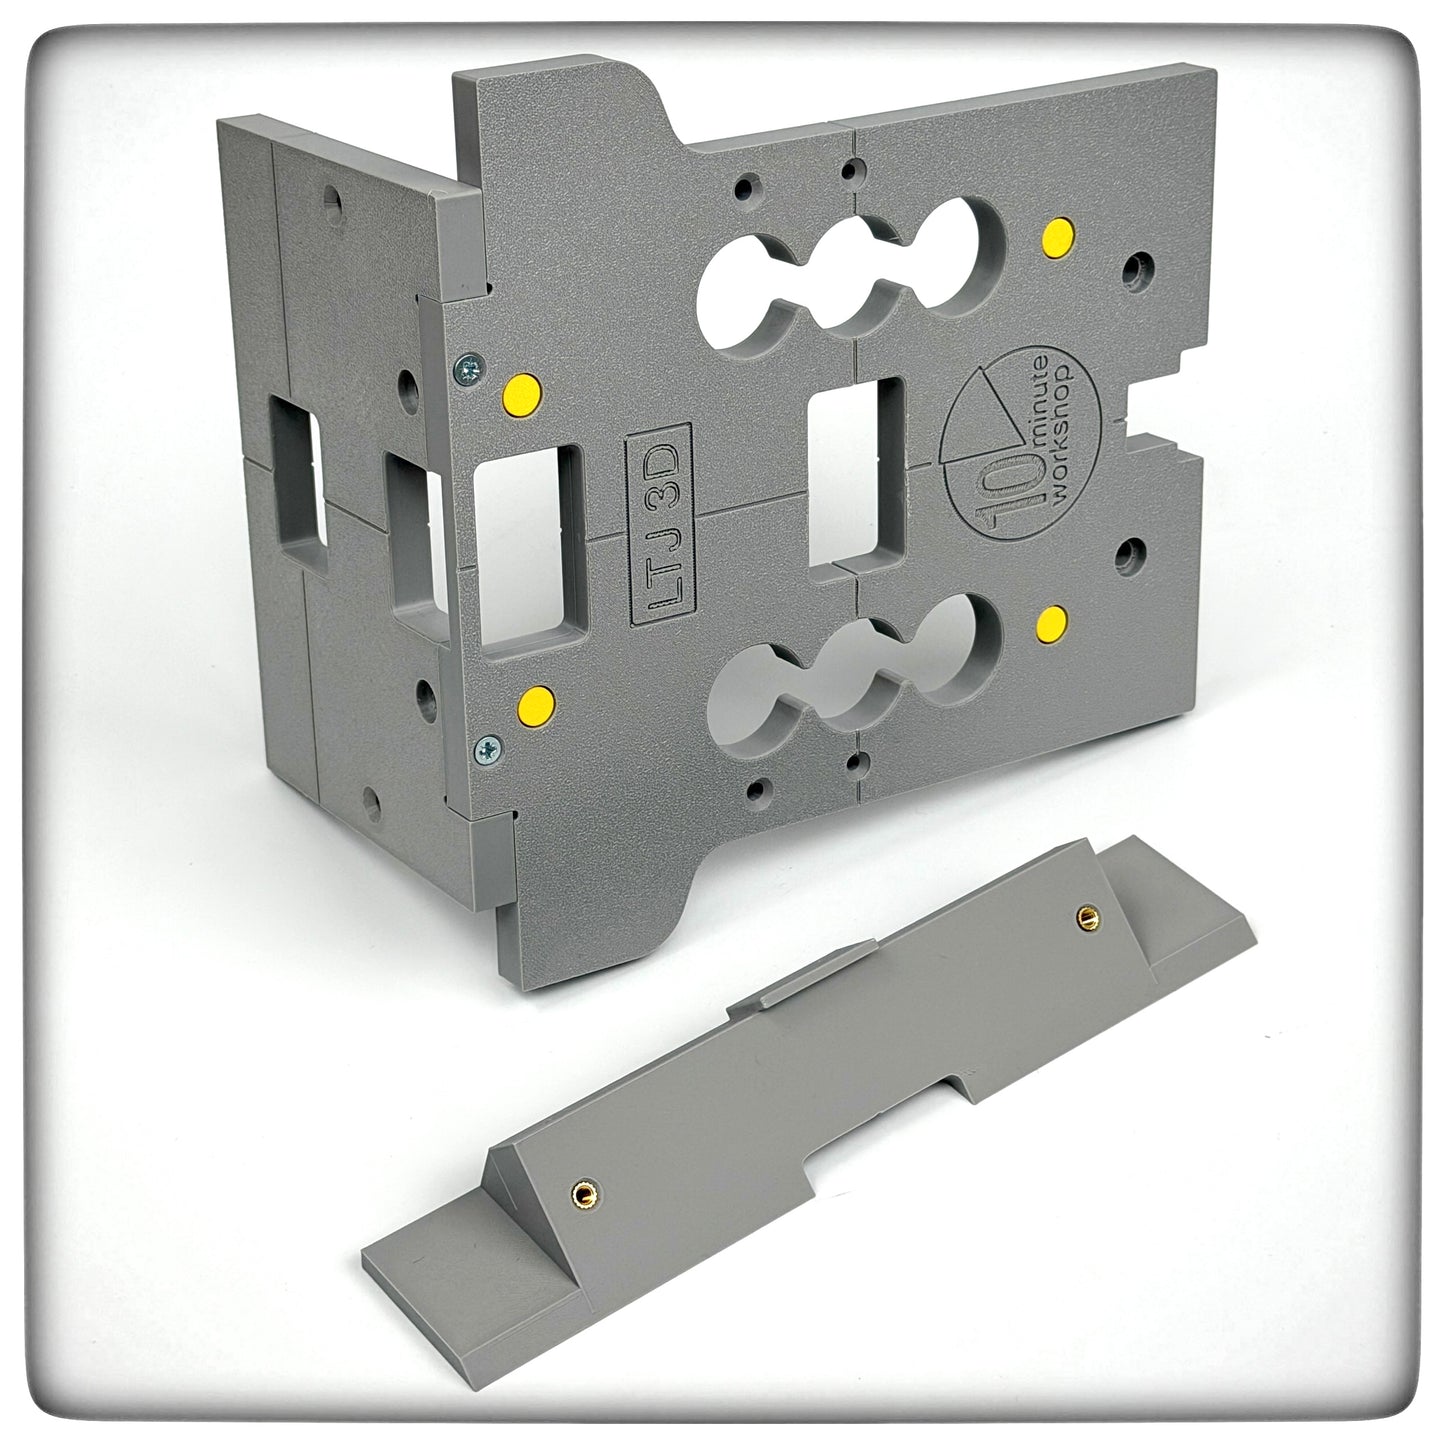
These are the files you'll need to 3D print your own version of the 10MinuteWorkshop Loose Tenon Jig LTJ3D - see my other listing for the full description, but in short the LTJ3D is a simple flat-pack router jig made specifically to put loose tenon mortices in the face and edges of 18mm thick boards to make simple carcasses - cabinets, wardrobes, shelves etc... and features:-
- Easy assembly / knock-down for storage
- Machines tight and mid-size mortices without alteration
- Registration pins to reference off the edge of the workpiece
- Easy jig location for mid-panel mortices
- Mitre fence for mortices in bevelled joints
- Built-in plunge depth setting for 30mm dominos
- 32mm spacing for eg shelf-pin holes, easily extended
3D Printing Notes:
Please read the Release Notes included in the zipped file, and note the terms of the licence, in brief (and not limited to):
- No sharing or redistributing
- No remixing
-
Non-commercial use only
Note that the body of the jig is 240mm x 240mm x 12mm, so your printer must be large enough to accommodate this.
You’ll receive STL files for the Fence, Body and Mitre fence, and both STL and STEP files for the registration pins; you may need to tweak the diameter on these depending on how your printer is set up, and STEP files allow you to do this in CAD without scaling the whole pin.
Prints have been made on a BambuLab P1s in PETG filament using the default settings in BambuStudio and it appears to be very strong and perfectly usable; for a print with a little more ‘heft’ I’d suggest trying a 25% infill instead of the default 15% and I found I had the best looking results with support enabled and the jig printed face-down so that the top face picked up the texture of the plate.
General usage
The fence and body of the jig need to be joined together when printed and I use M4 x 20mm machine screws for this. There are holes in the face of the mitre fence and the edge of the fence designed to take a threaded insert, and these will accept either a woodworkers insert, or a heat set insert; note that I recommend heating up the woodworkers insert. Links below to the user guide, which includes direct links to the items I used, or similar:-
https://bit.ly/LTJ3D_Files_UserGuide
Be sure to watch the full YouTube video that demonstrates the capabilities of the 10MW LTJ3D in cabinetry (live from noon Friday December 5th).
+++
GPSR safety data
Manufacturer: Files created by 10MinuteWorkshop Ltd, 63-69 Jeddo Road, London W12 9EE, Peter@10minuteworkshop.com@10minuteworkshop on social media
EU Authorised Representative: Easy Access System Europe - Mustamäe tee 50, 10621 Tallinn, Estonia, gpsr.requests@easproject.com
Safety warning: This is not a toy, keep away from children and animals. Keep away from fire and water. Edges can be sharp, plywood may contain splinters.
+++